I am so glad that I decided to grow my own nails. It's so much cheaper now I'm not spending money on acrylics. My nails are also healthy and I love painting them different styles. I've got a whole board on pinterest dedicated to painted nails which you can check out
here! So after being inspired by summer and beautiful ombré nails I painted my own, and here's how I did it. This was super difficult to photograph..
You will need..
2 Coloured Nail Polish
Clear Top Coat Polish
A Small Sponge
Nail Polish Remover
Cotton Buds
Firstly, I started with a base coat to strengthen and protect my nails from breakage. I just use a Rimmel one. Then I put one coat of the colour I wanted to be the base of the ombré. I used this blue colour by Rimmel, #842 'too cool to tango' I just applied a light coat over each of my nails.
Next I used a bit of plastic I had lying around to put this on.. you could use a bit of paper. Next I just put a splodge of each colour next to each other and applied onto the sponge. I cut the sponge so it was smaller and created less mess. The yellow colour is Rimmel's #450 'get your shades on'
Just dunking the sponge in.. It helps if it's damp too.. Makes the polish dry out less quickly.
After it's on the sponge, I just gently pressed against my nail, blending the two colours together till I thought it looked okay. I kept doing this to every nail and repeating the last few steps.
It does get a little bit messy but it's not anything you can't fix. I just got a cotton bud dunked in nail varnish remover and carefully cleaned it all up.
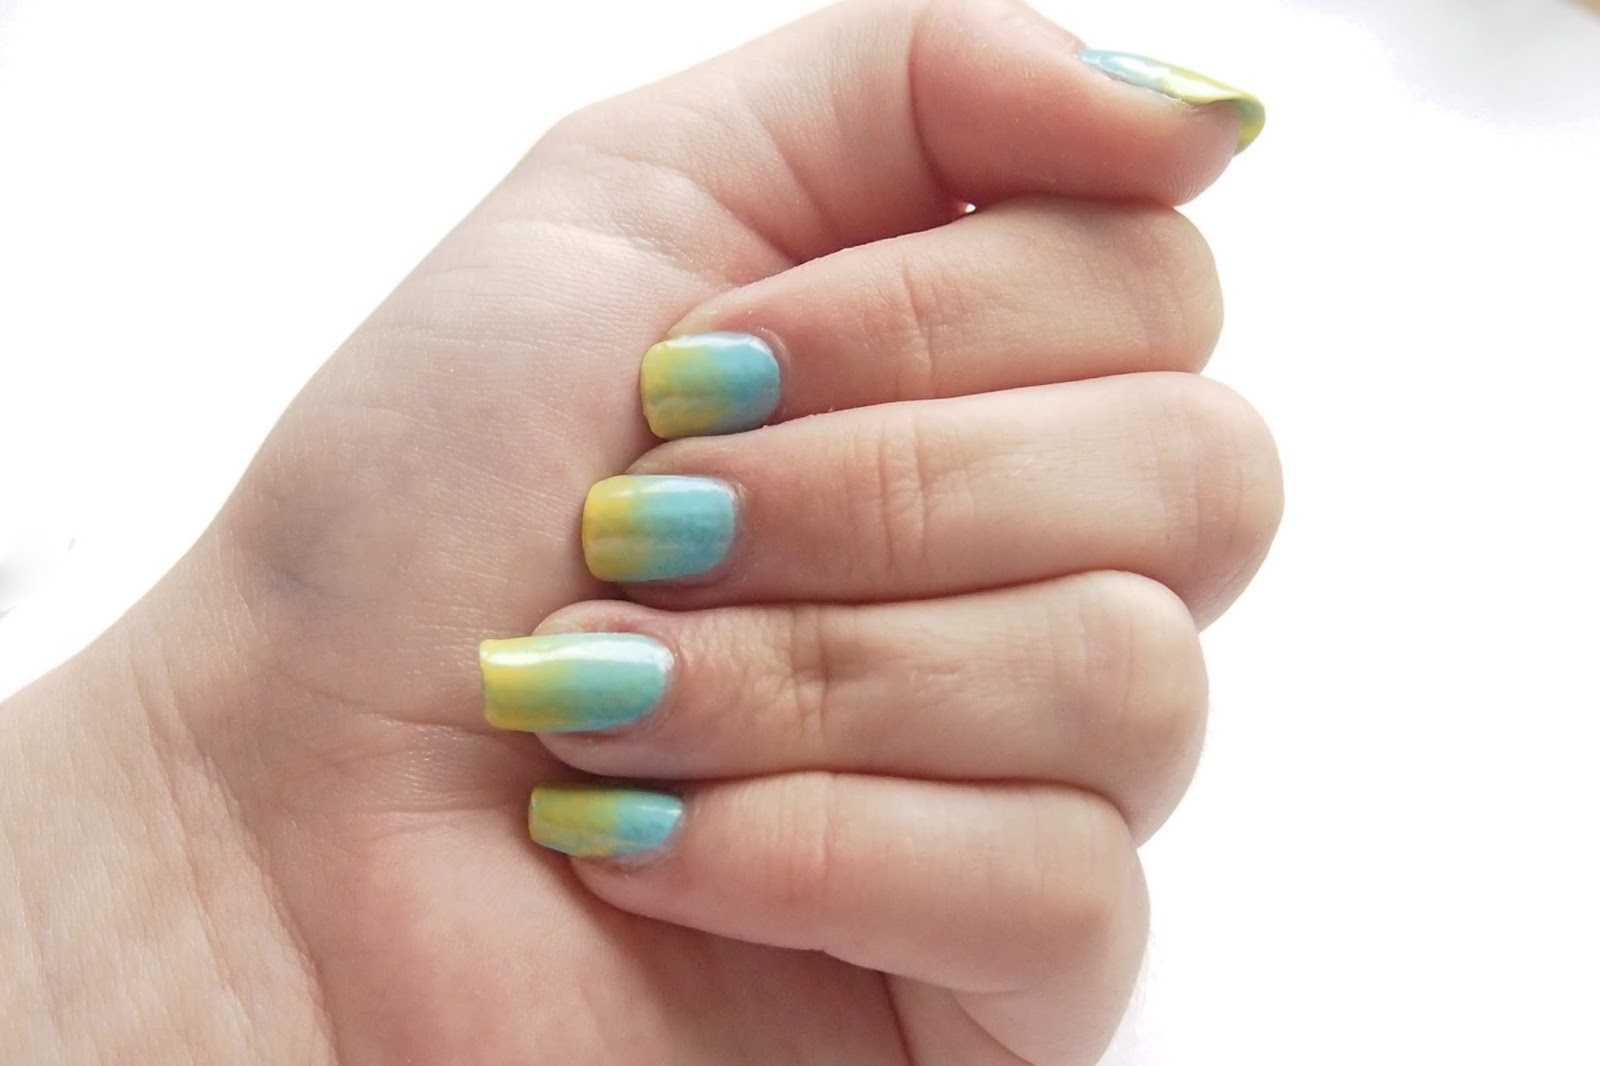
I like to let my polish dry and breathe a little bit before applying the top coat. It did look a little bobbly and sponge like before the top coat, but don't worry it will go away. After letting them breathe and dry a bit, I applied the top coat.
And voila! That's my summer themed ombré nails! I'm really happy with them considering this was my first ever attempt at an ombré nail. I'm also really proud of how far my nails have come, I have always been a terrible nail biter. Excuse my longer nails, my others broke at a festival, but they will get there! Have you tried ombré nails?
Emily